Additions to the GP9 Fleet
As I eluded to in my last post, I’ve been working on a few GP9’s for the layout. I have two functioning units on the layout now, but that’s nowhere near enough for what was on the island in 1988 and earlier timeframes. (slight aside here: Cam keeps wanting to wind the wayback machine to 1986 to model a whole ton of log trains when truckers went on strike…and unfortunately, all the locos on the island then were GP9’s…Not hard to figure why I want to model 1988 – a lot more variety in motive power that year!)
Back when Proto was affiliated with Hobbycraft Canada, the GP9 models produced in CP Action Red were done with only a single number (maybe two, but I can’t say I saw it), and trying to find this paint job on ebay was getting quite frustrating. Too expensive or simply not available. So I started looking and found a few relatively cheap GP9’s in Santa Fe and CN paint schemes which were mechanically similar to the units I had – specifically, equipped with Dynamic Brakes. I was also informed that stripping the paint off these units would be pretty safe and easy – simply dunk them for a period of time in 99% Isopropyl Alcohol.
One paint scheme was easy. Others…Not so much. Put it this way, if I’m going to go for more units, I’m looking for Santa Fe black and silver units. The CN noodle required grit blasting with baking soda to remove, and the blue and yellow Santa Fe paint scheme spent days in the alcohol and numerous brushings to remove the paint whereas the black scheme was completely cleaned off after a mere 8 hours in the dip and a gentle brushing with an old toothbrush! Two other units were stripped as well, but cannot recall what paint schemes they were in. Something tells me one of them was a CP Tuscan scheme. This has been a longstanding project… I also acquired one undecorated GP9 as well, but it presented a unique issue in that it came without dynamic brakes. Oops. Cam found an appropriate part from Bachmann of all places. It’ll do!
Once the units were all completely stripped, and with advice from Cam, we started in on making them more appropriate for CP Rail. First off was acquiring a bunch of detail parts – a proper CP horn, high hood bell, sinclair antennas, sand hatches, handbrake wheels and 48″ fans. These models were originally delivered with 36″ fans for primary cooling, but most of the prototypes with 36″ fans were sent for rebuild prior to 1988. So four of the units on the layout will be equipped with 48″ fans, which required a fairly substantial patch job. One that Cam readily agreed to do… Thanks! Over the course of several evenings at Dave’s place, these parts were installed onto the stripped shells, fans installed and generally, the shells made ready for paint.
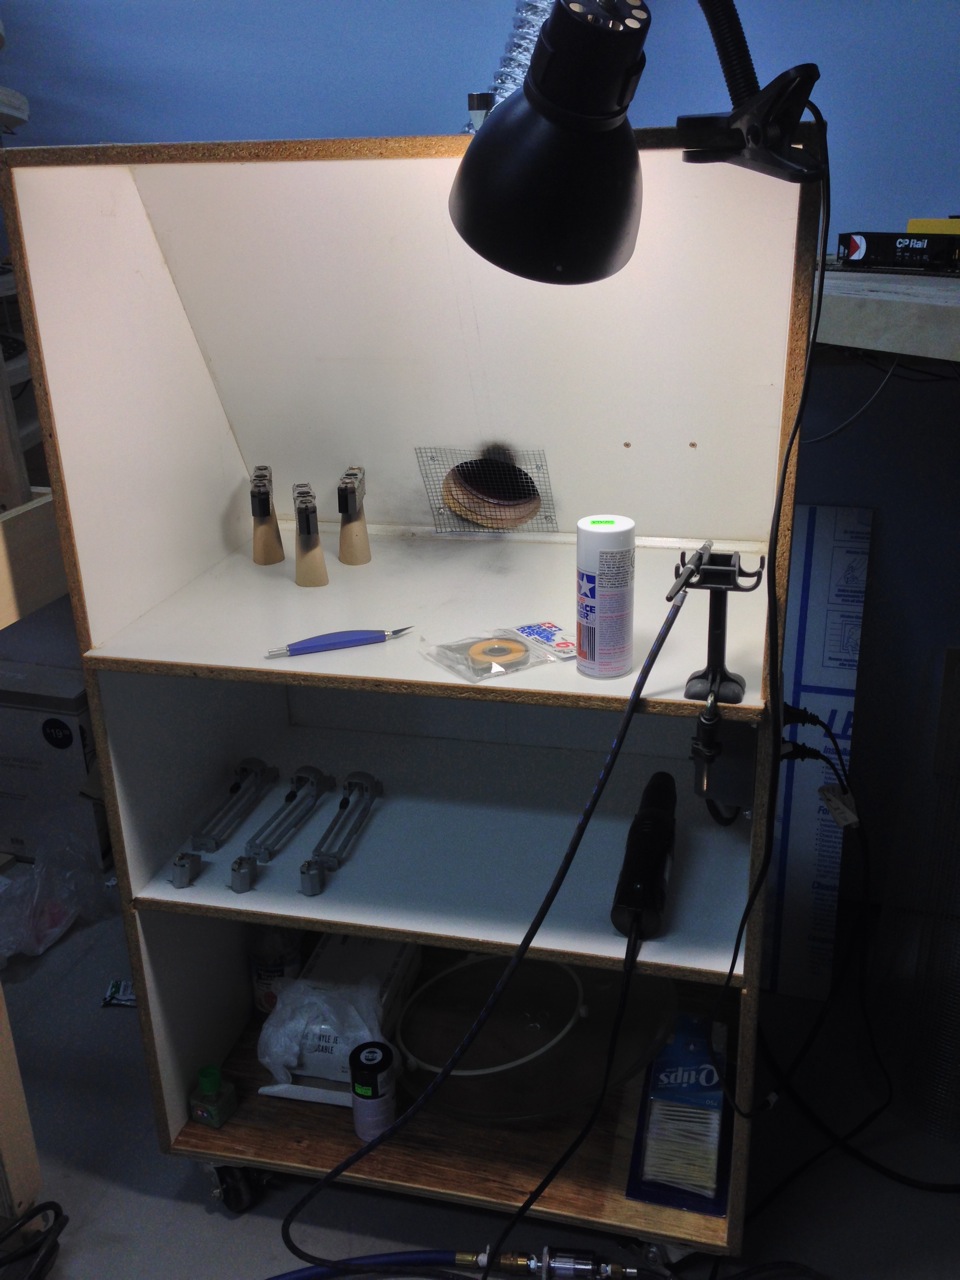
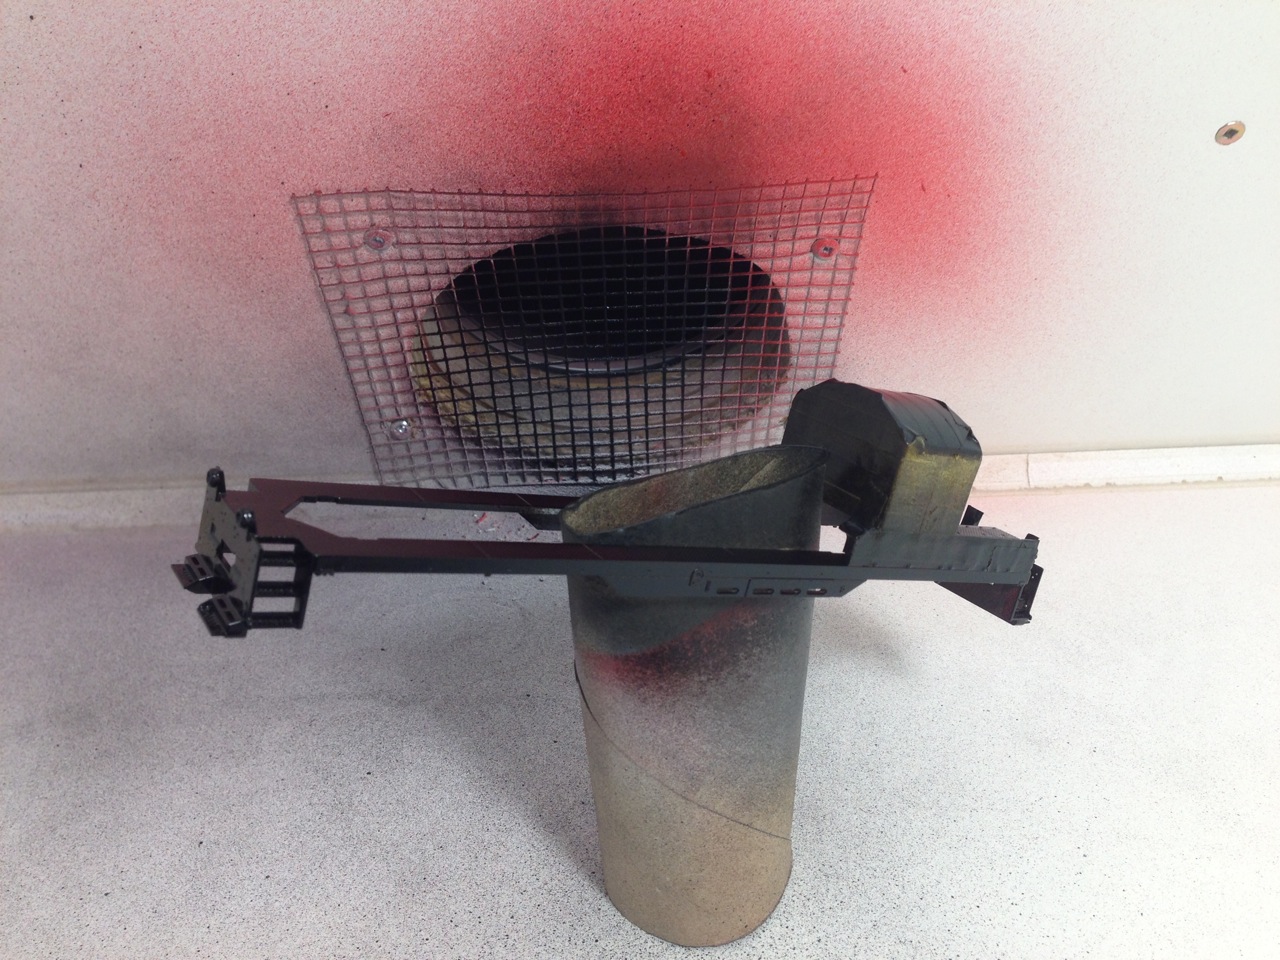
Concurrently to all this was the preparation of my new spraybooth built by Garth Prestegaard (apologies Garth if I’ve spelled your last name incorrectly) many many moons ago. Off the old spraybooth was the fan and electrics, and onto the new cabinet was the same fan and new wiring. Once plugged in, flick a switch and the fan turns on and turns on anything plugged into the electrical outlet beside it – used for lighting and a hair dryer. Works well!
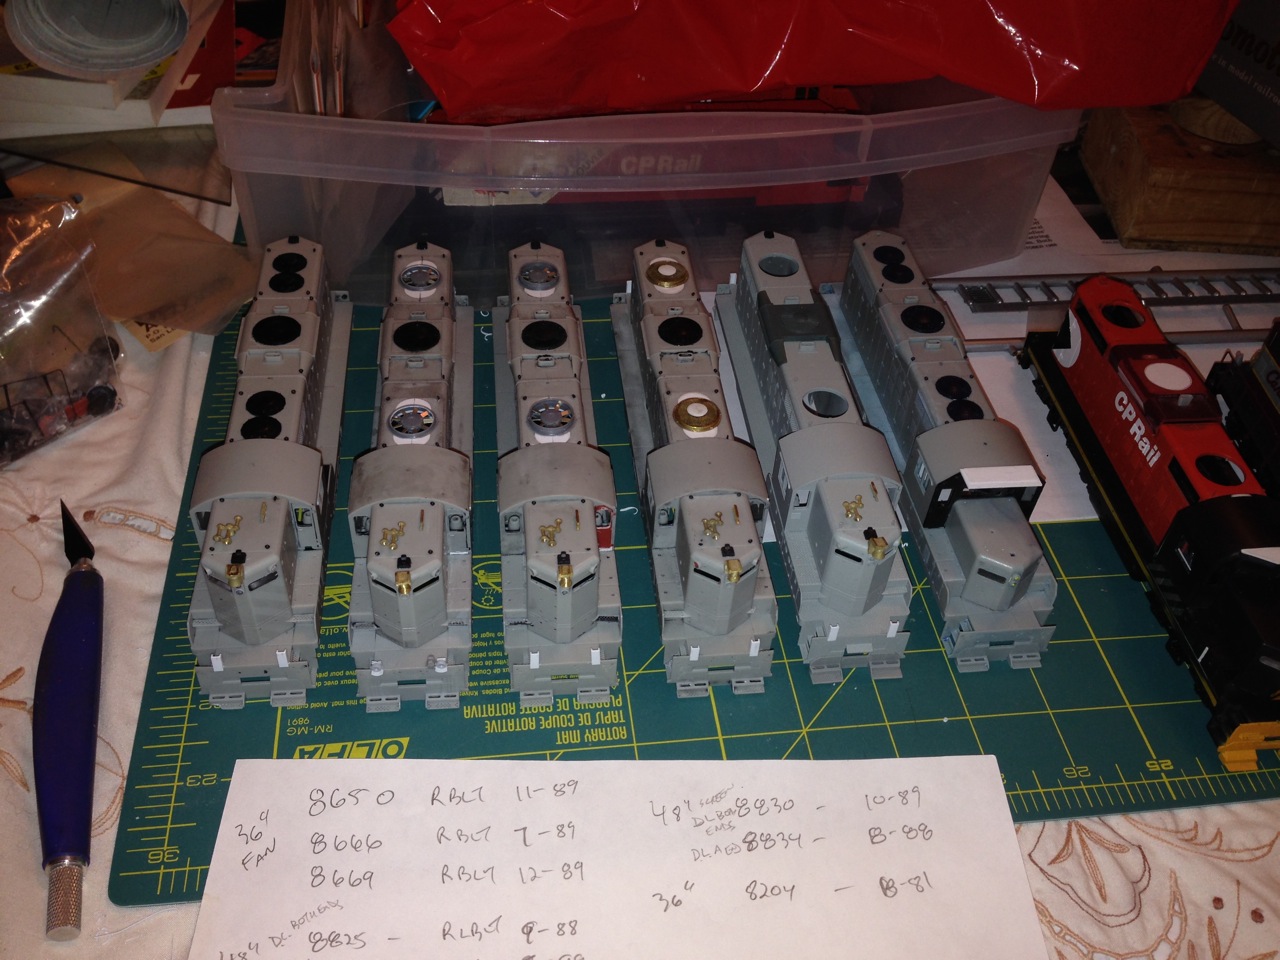
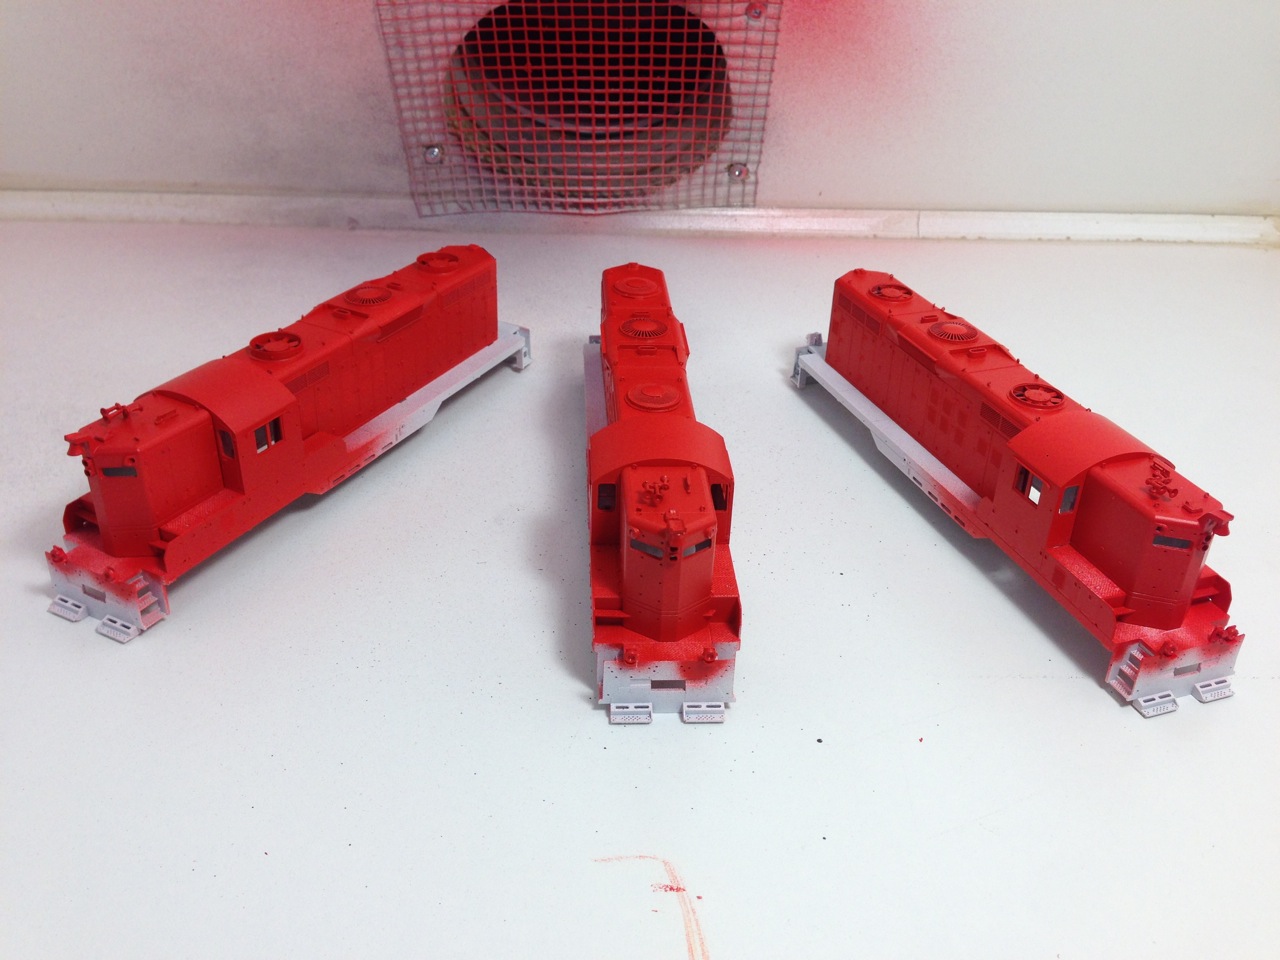
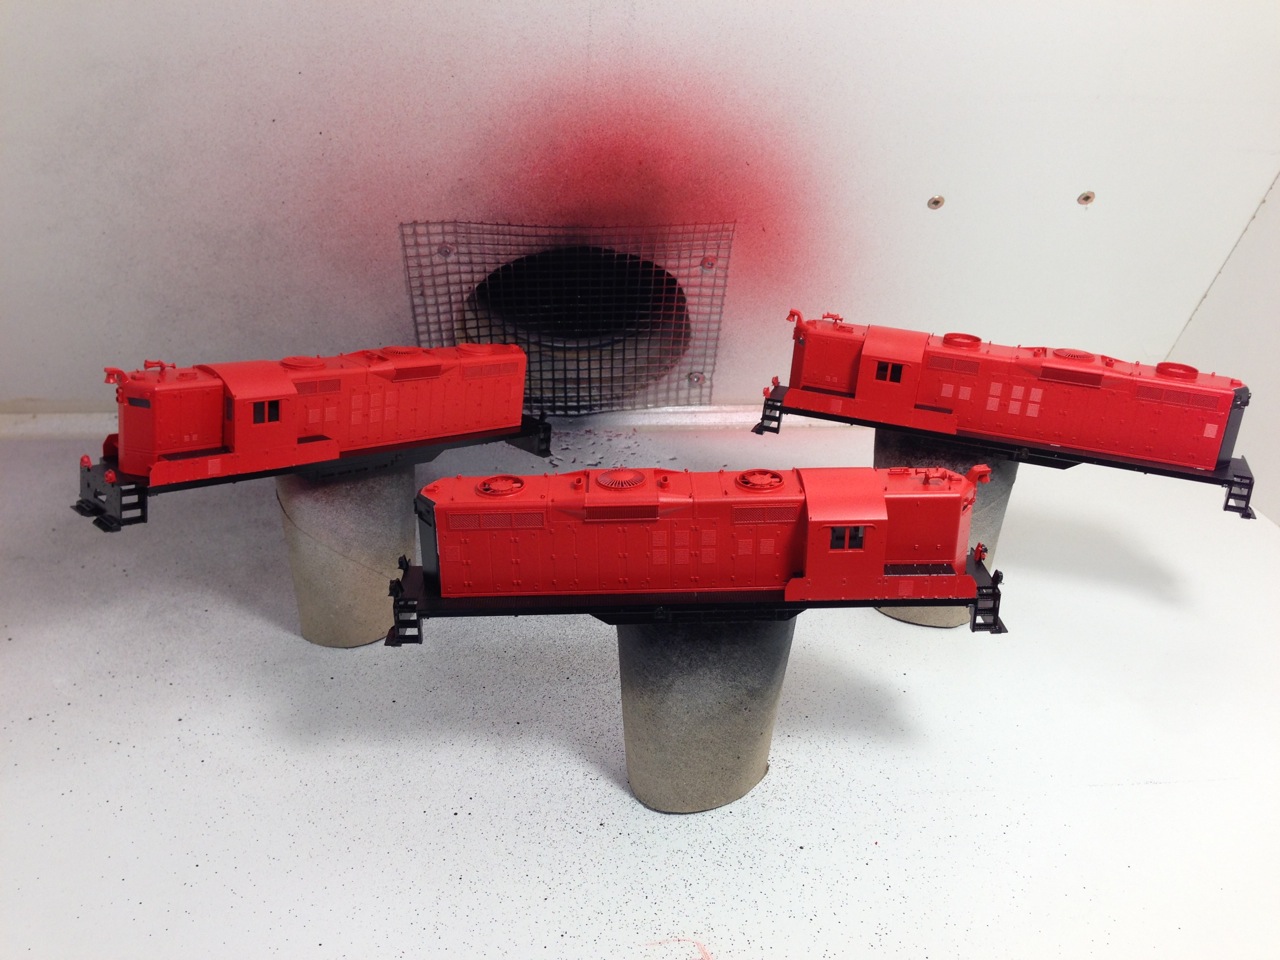
Six shells, three ready for paint, three needing some work
Which generally brings me up to today. I have six units soon to be ready – three units with 48″ fans all complete and ready for painting. One unit with 36″ fans required installation of the winterization hatch which I forgot to strip first, a second unit with 48″ fans required fans that I didn’t already have, and the third not-quite-ready unit which will be 8204 isn’t done owing to the fact it’s undergoing a more extensive amount of work – a short-hood upgrade. That one is the one on the far right in the above picture.
On advice from Dave, I washed the three units, air dried, and then painted the rear end with Tamiya Gloss Black out of a spray can. Very good stuff!
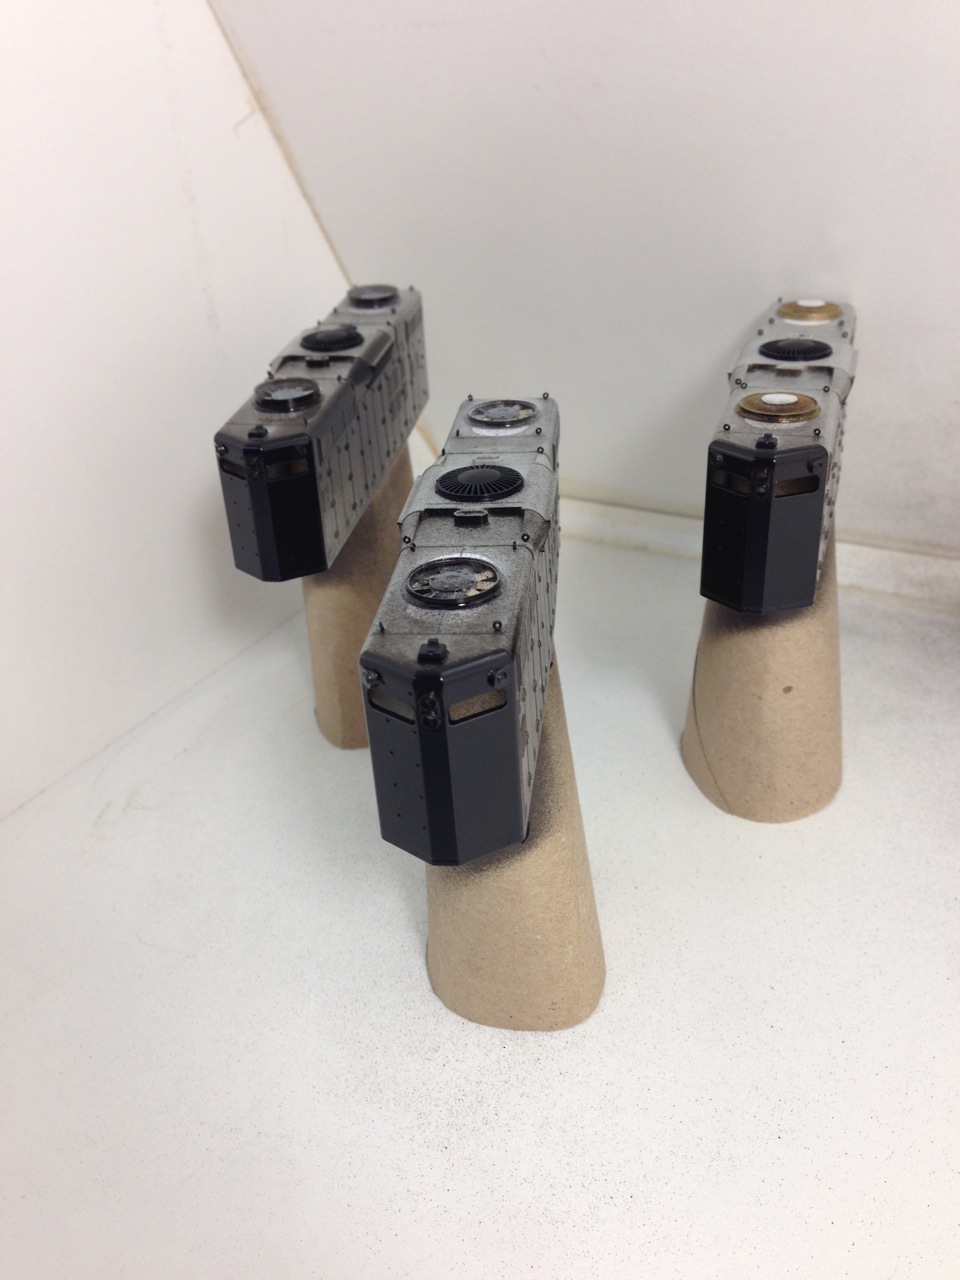
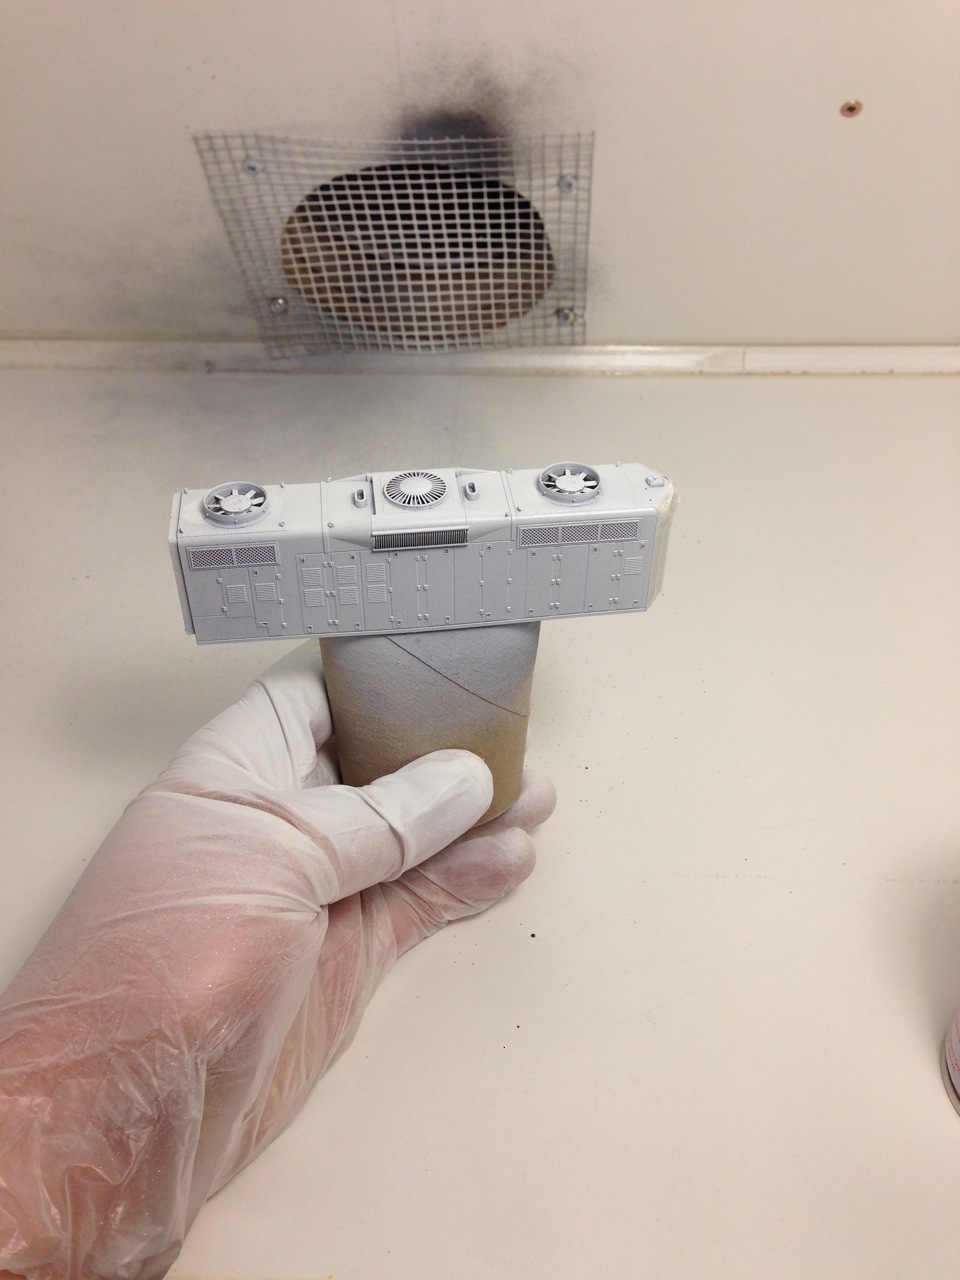
Toilet Paper Tubes make for good handles and stands for painting
Toilet Paper Tubes make for good handles and stands for painting
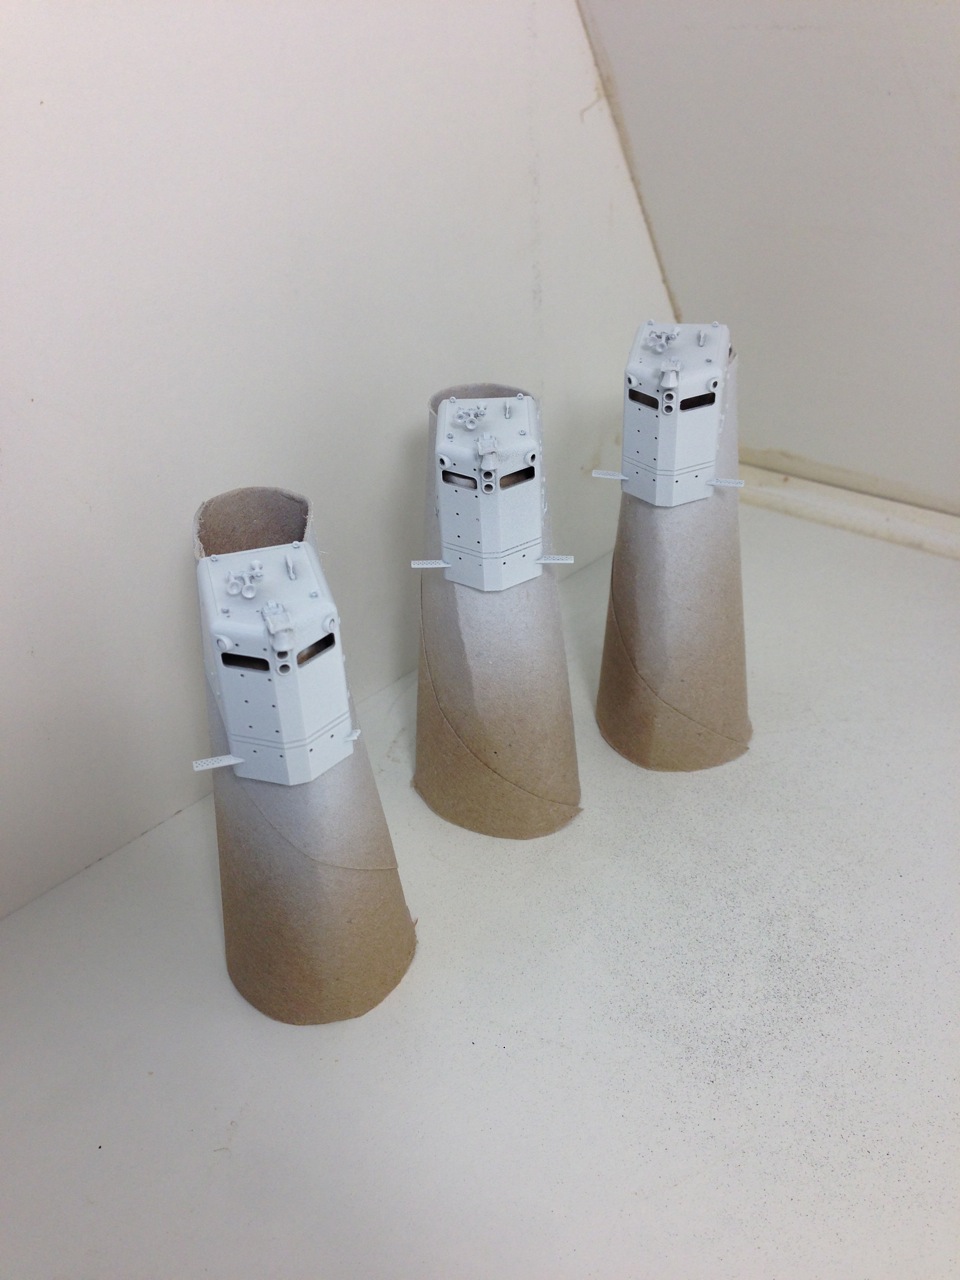
Next up was priming the short hoods and the Cab/Frame assemblies. This was done with Tamiya Fine Surface Primer White. After numerous light passes, that was complete. Attention turned to masking off the black paint so I could prime the long hoods. What an eye opener that process is! Obviously one wants to ensure the masking is done cleanly and properly to avoid any paint from bleeding underneath, and this takes time. Spent nearly three times longer masking it than I did painting them…
Once masked, the white went onto the long hoods. Lunch called at that point and afterwards, got the airbrush hooked up and mixed up a couple drops of Vallejo Retarder Medium into the paint cup 2/3rds full of True Line Trains Action Red paint. Sadly, this paint has been discontinued owing to Testors (manufacturers of the True Line Trains paints) getting out of a lot of paint lines, so I’m quite glad that this paint goes on so nicely. After painting 3000 and 3004, plus the three units today, I’ve used up maybe 2/3’rds of a single bottle. I have two more full bottles and think that I’m pretty set in case I want to redo other units…
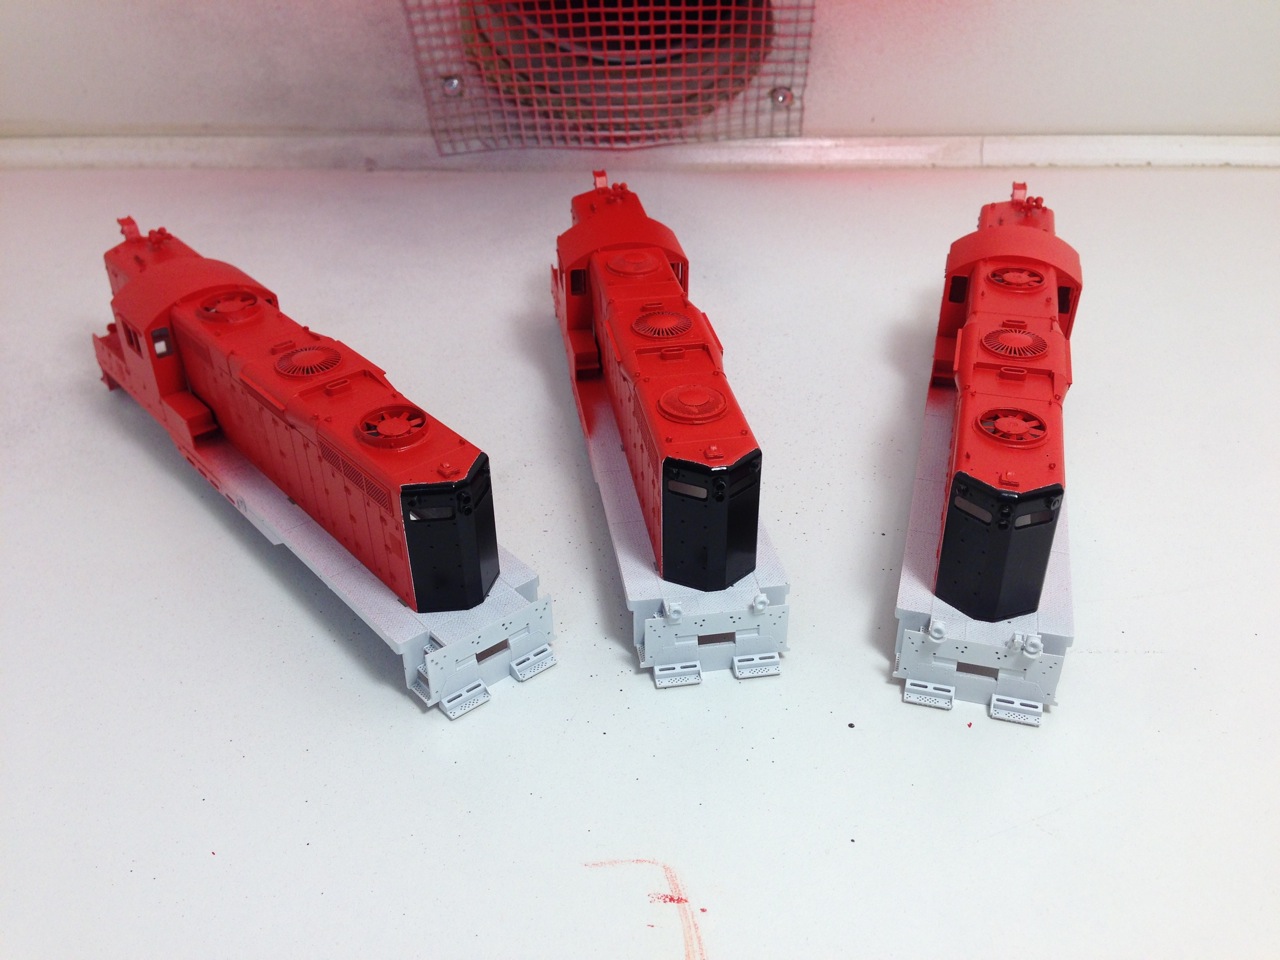
Following that process, and letting the red cure quite well, on went the masking tape on the cab/frame assemblies to protect the red which was sticking around. Sprayed the black onto the rest of it, pulled the tape off and after scraping off the (thankfully very few) spots of black which managed to make its way under the tape, have some very sharp looking units.
Onward to glosscote (very light coats according to Dave), then application of decals, and the installation of decoders onto the chassis…Which reminds me. I should get to it!
Recent Comments