November 13, 2010
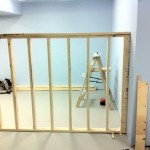
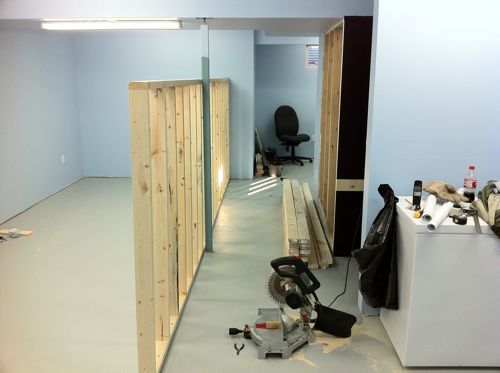
Today was the day everything got secured to the house! Cam came over late this morning and we put the wall up, securing it to the floor with ramset nails, wall with screws into a conveniently placed stud, and telepost with PL400 construction adhesive. I’ve now got a very stable peninsula wall dividing the basement for putting three decks of stuff up on it. It also marked the absolute END to any major changes to the track plan since I’m not going to pull nails which have been driven into concrete!
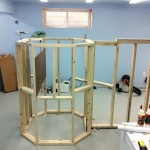
Turns out that square we drew on the floor for the peninsula-ending octogon was only a quarter inch out in one dimension from its final placement…Good stroke of luck there. Some shims for ensuring it was plumb and voila. Done. In the week leading up to the securing of the walls, I secured a sheet of hardened masonite into the octogon to provide for some cross bracing and then put a chair in there to envision dispatching from within the octogon. Turns out it’ll be a lot bigger in there than the workbench, and despite the crawl into the space once the layout is built, I’m thinking it’ll be a lot better in there than at the workbench… Cam suggested redoing the cross-bracing to provide a desk and proper setup within the octogon for dispatching which I’m inclined to agree with. There will of course be some changes taking place inside there to facilitate that. I’ll also need to acquire a fair number of FRS radios for the crews to properly communicate with the dispatcher. Any suggestions on what brand/make/etc.? Drop me an e-mail or post a comment on that or any other topic.
We also brought in a couple bits of pre-built benchwork for an aborted portion of Murray’s home layout which I acquired some time ago for use to see how they’ll work for the staging yard (as the height of these things are way taller than I’m allowing for the rest of the layout) and initial appearances look good. I’ll need new tops for both to fit the situation I’m in, but otherwise, a good recycling of the stuff.
And lastly, we got the workbench top fully installed. It was here that we pretty much decided to put the dispatcher inside the Octogon as Cam didn’t quite … fit in the space which means that I’m likely one of the few who will (and leaves me a pretty good incentive to not gain a whole ton of weight!) Now I’m looking to paint that too, but still deciding on whether it stays white or painted black with the rest of the wall.
And lastly, we secured the pair of water pipes leading to the outdoor faucets which were hanging down into the space intended for trains to enter the staging area.
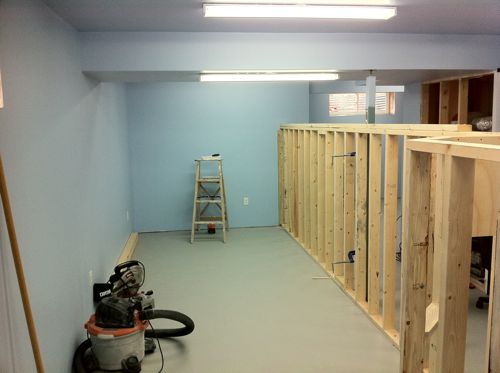
Here’s a whole whack of pictures showing the entire basement with the new additions in place:
-
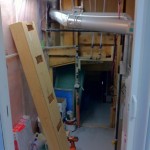
- One piece of benchwork for the staging yard and pipes secured in the utility room
-
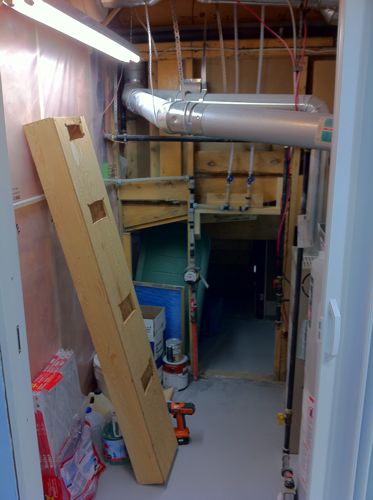
- The other bit of benchwork for the staging yard in it’s approximate location but not it’s orientation!
-
- The helix goes here, once this stuff gets moved out of the way
-
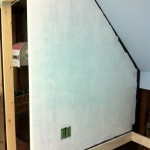
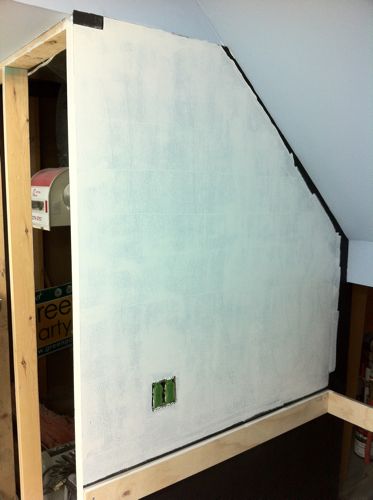
- Mud Bay, Parksville and Cameron Lake will be here some day. For now, just part of the wall.
-
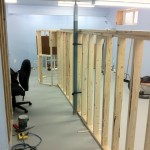
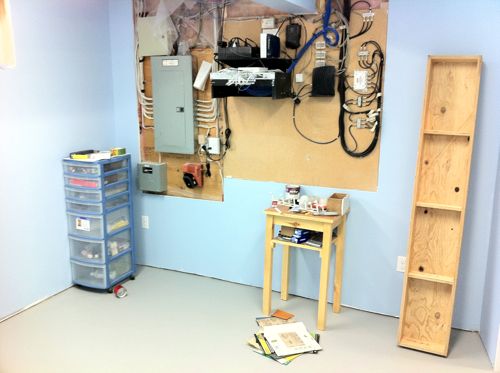
- Looking at the south end of the basement.
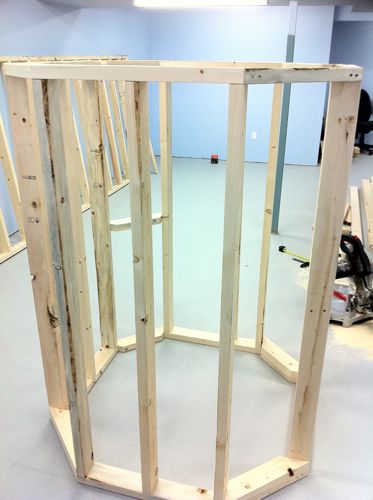
-
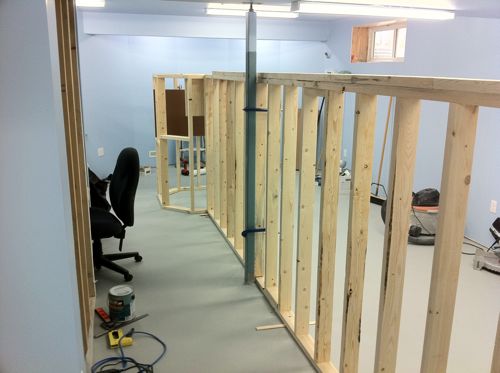
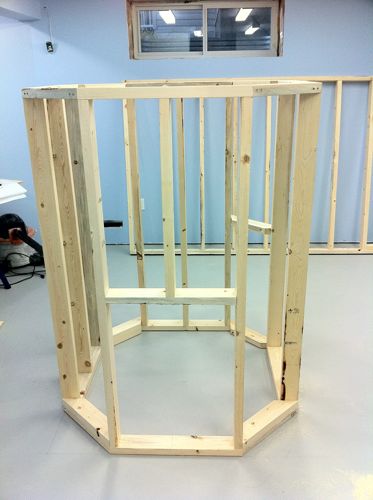
- The octagon in it’s final position. The dispatcher goes in the centre of it.
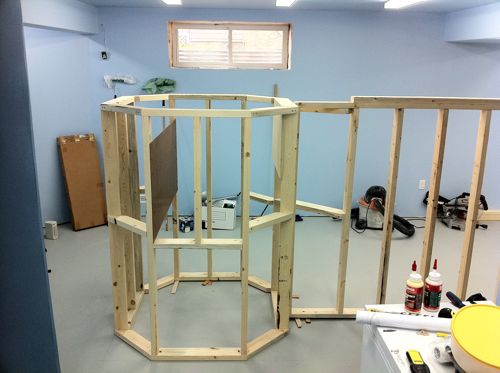
-
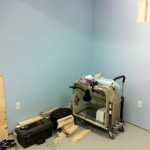
- More stuff to move. Envision Courtenay, Nanaimo and the Alberni Pacific along here…
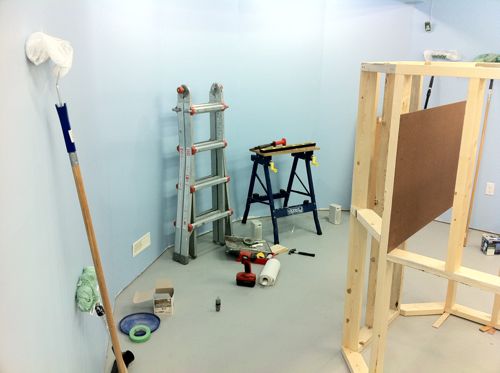
-
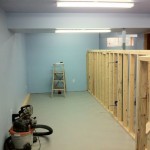
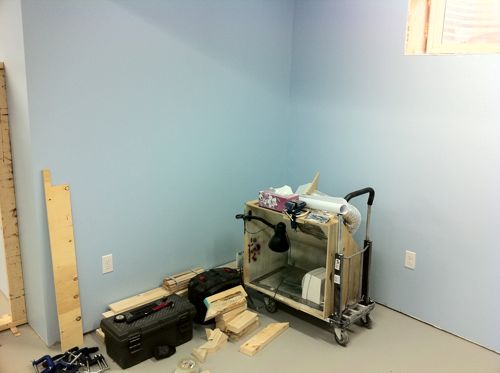
- A long view facing north. Lots of work to do in here!
November 7 – 10th, 2010
This past week was spent working on getting the workbench area into shape. Specifically the biggest thing needing to be done was the relocation of the electrical outlet. During the planning of the layout, I envisioned having a relatively high-up workbench and to work on stuff on a bar stool which I had used on the previous workbench. Thus, I sited the electrical outlets at around 43-ish inches from the floor.
Turns out that height is smack dab in the way of the trackage coming off the wye under the stairs for my programming/test track. Whoops.
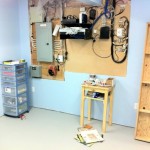
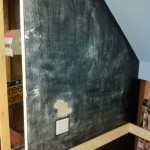
Thankfully I did leave myself enough electrical wire to be able to move the outlet down enough to put it underneath the trackage, so out the outlet box came (and thankfully the back of that wall was still open!) and a new hole cut. I fashioned a patch from another scrap of 1/2″ plywood and secured it to the wall in place and then started to sand it smooth with the rest of the plywood wall.
Ever have that dreaded feeling that once you clean one spot that you’ve now got to clean everything else to ensure that one clean spot doesn’t highlight the dirt everywhere else? Guess what? I ended up sanding that one spot so smooth that it would stand out from the rest of the plywood wall. So, out came a second sheet of 80 grit sandpaper and started sanding the wall smooth. Then came the wood filler, patch the cracks as best I could and then sand again with 150 grit. Following that is a fresh coat of primer, which will be sanded smooth to be followed by another coat of primer and then two coats of black paint, each with 400 grit sandpaper. At the end, I’m still undecided as to what will be on the wall other than the test track…
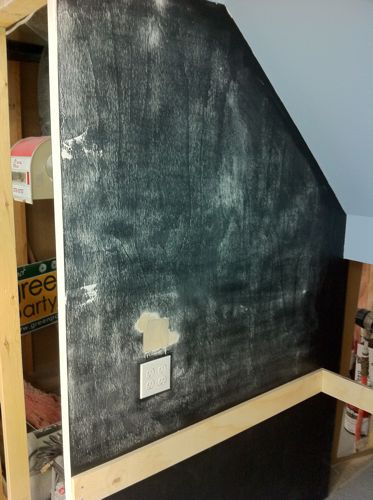
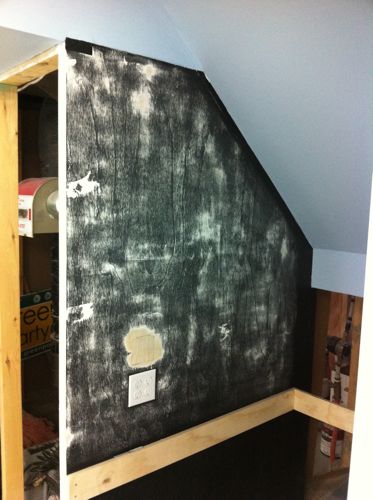
Here then are some shots of the progress on the wall after the patch has been installed and outlets moved:
-
- Patch in place, first bit of sanding
-

- More sanding
-
- Now has first coat of primer
November 6, 2010
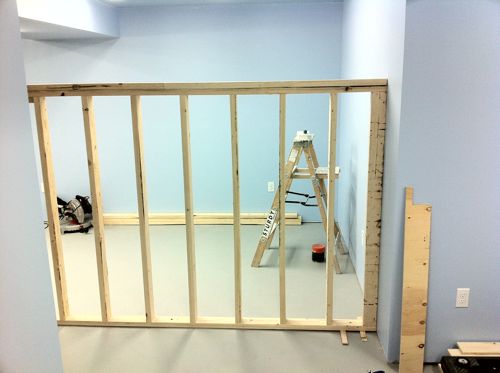
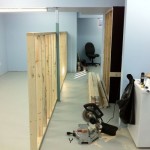
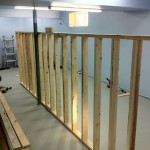
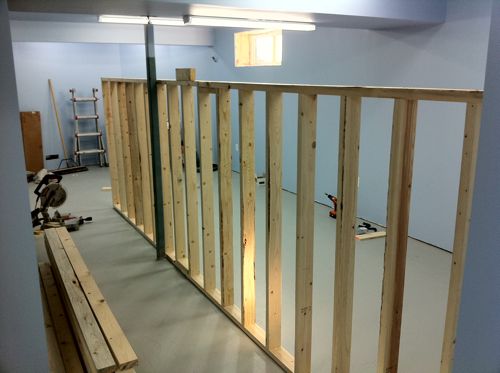
Tons of progress on framework! Cam came over to help out with construction of the peninsula wall and the pensinsula-ending octogon. To ensure we built the octogon properly, we made a full scale drawing on the floor in the south end of the basement, ensured everything was square (thanks to my father-in-law for the easy 3-4-5 rule for ensuring things are square…kept me from breaking out the calculator to figure out the pythagorem theory otherwise) and we constructed it all from 2×4 lumber which has been aclimating in the basement over the past few weeks.
We also figured out the plan for the next weekend where we would actually secure everything together in the final position once I obtained the Ramset (a gunpowder activated nailer – where one really “fires” nails into concrete!) from Murray.
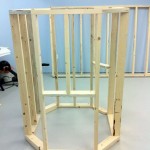
-
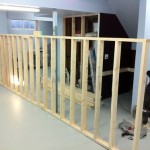
- The peninsula wall, roughly in position
-
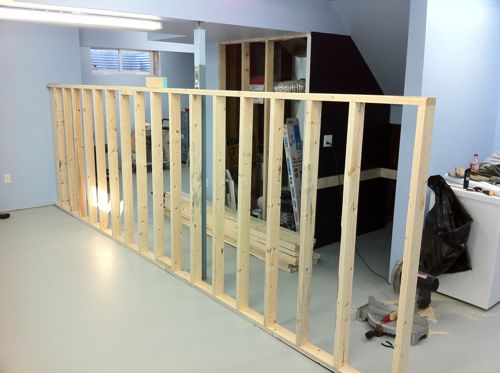
- Another view of the peninsula wall.
-
- The peninsula wall, roughly in position. Parksville goes on this side.
-
- This end of the Octogon gets connected to the peninsula wall

-
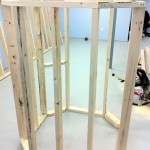
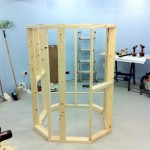
- North face of the Octogon
-
- Facing west onto the Octogon, entrance to the dispatcher’s office is below.
Recent Comments