November 7 – 10th, 2010
This past week was spent working on getting the workbench area into shape. Specifically the biggest thing needing to be done was the relocation of the electrical outlet. During the planning of the layout, I envisioned having a relatively high-up workbench and to work on stuff on a bar stool which I had used on the previous workbench. Thus, I sited the electrical outlets at around 43-ish inches from the floor.
Turns out that height is smack dab in the way of the trackage coming off the wye under the stairs for my programming/test track. Whoops.
Thankfully I did leave myself enough electrical wire to be able to move the outlet down enough to put it underneath the trackage, so out the outlet box came (and thankfully the back of that wall was still open!) and a new hole cut. I fashioned a patch from another scrap of 1/2″ plywood and secured it to the wall in place and then started to sand it smooth with the rest of the plywood wall.
Ever have that dreaded feeling that once you clean one spot that you’ve now got to clean everything else to ensure that one clean spot doesn’t highlight the dirt everywhere else? Guess what? I ended up sanding that one spot so smooth that it would stand out from the rest of the plywood wall. So, out came a second sheet of 80 grit sandpaper and started sanding the wall smooth. Then came the wood filler, patch the cracks as best I could and then sand again with 150 grit. Following that is a fresh coat of primer, which will be sanded smooth to be followed by another coat of primer and then two coats of black paint, each with 400 grit sandpaper. At the end, I’m still undecided as to what will be on the wall other than the test track…
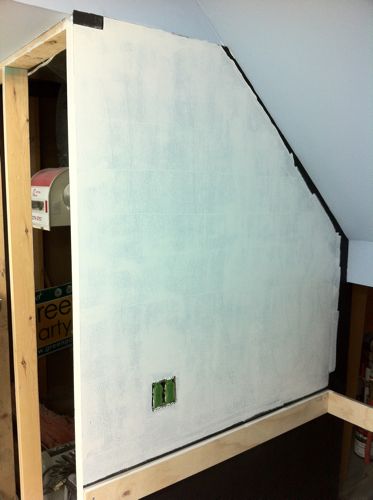
Here then are some shots of the progress on the wall after the patch has been installed and outlets moved:
-
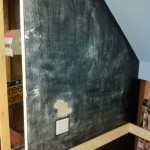
- Patch in place, first bit of sanding
-

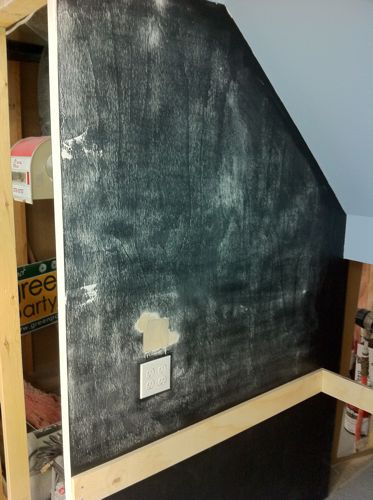
- More sanding
-
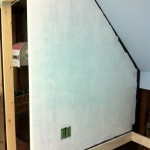
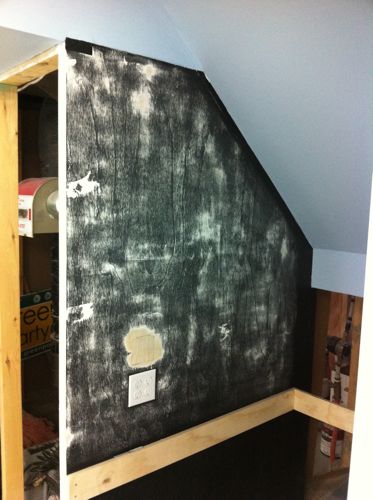
- Now has first coat of primer
Leave a Reply